Revitalizing Your Skin The Art of Crafting a Homemade Beauty Cream
In the quest for radiant and healthy skin, many of us turn to a myriad of commercial products, each promising miracles and a fountain of youth. However, the truth lies in the simplicity of natural ingredients that Mother Nature has provided. Crafting your own beauty cream is not only a rewarding experience but also a way to ensure that your skin is pampered with the finest, unadulterated ingredients. Here's a step-by-step guide to creating a homemade beauty cream that will leave your skin glowing and your conscience clear.
The Basics of Homemade Beauty Creams
Before diving into the specifics of a recipe, it's important to understand the basics of homemade beauty creams. These creams are typically made with natural oils, butters, and essential oils, which are known for their skin-friendly properties. They are often free from harsh chemicals and preservatives found in commercial products, making them a healthier choice for those with sensitive skin.
Ingredients for a Luxurious Homemade Beauty Cream
To get started, gather the following ingredients:
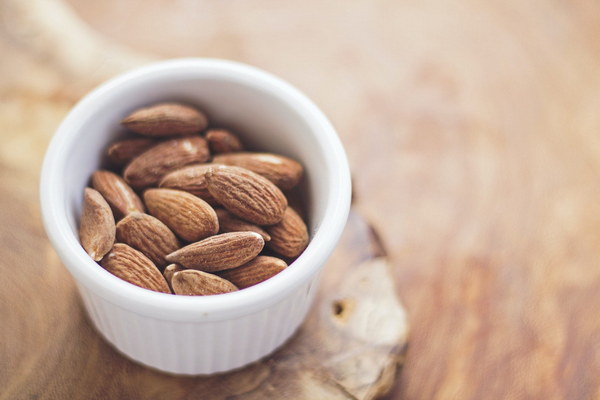
- Olive Oil or Almond Oil: These are excellent emollients that nourish and soften the skin.
- Shea Butter or Cocoa Butter: These butters have moisturizing properties and help to lock in hydration.
- Beeswax: Adds a protective layer to the cream and helps to keep it from melting at higher temperatures.
- Aloe Vera Gel: Known for its healing and soothing properties.
- Vitamin E Oil: An antioxidant that helps to protect the skin from environmental damage.
- Essential Oils (Optional): A few drops of your favorite essential oil can add a delightful scent and additional skin benefits.
How to Craft Your Beauty Cream
Step 1: Melt the Butters and Oils
Begin by melting the shea butter, cocoa butter, olive oil, and almond oil in a double boiler or a heat-safe bowl placed over simmering water. Heat the mixture until it's completely melted and well combined.
Step 2: Add the Beeswax
Once the butters and oils are melted, stir in the beeswax. The beeswax will add a protective layer to your cream and help it to hold its shape.
Step 3: Mix in the Aloe Vera and Vitamin E
Remove the mixture from heat and add the aloe vera gel and vitamin E oil. Stir well to ensure that these ingredients are fully incorporated.
Step 4: Add Essential Oils
If you're using essential oils, add them now. Be cautious with the concentration, as too much can irritate the skin. A few drops should suffice.
Step 5: Pour into Containers
Pour the mixture into clean, sterilized jars or tins. If you're using glass jars, ensure they are heat-resistant.
Step 6: Allow It to Set
Let the cream cool and set at room temperature. It may take a few hours for the cream to solidify completely.
Tips for a Successful Homemade Beauty Cream
- Quality Ingredients: Always use high-quality, natural ingredients for the best results.
- Hygiene: Keep all utensils and containers clean to avoid any contamination.
- Storage: Store your homemade beauty cream in a cool, dry place. It's best to use it within a few months to ensure freshness.
- Customization: Feel free to experiment with different oils and essential oils to create your perfect formula.
Final Thoughts
Crafting your own beauty cream is a delightful process that allows you to connect with the natural world and take pride in the product you create. Not only is it a satisfying way to care for your skin, but it also gives you the peace of mind that comes with knowing exactly what's on your face. So, roll up your sleeves, gather your ingredients, and embark on a journey to create your very own luxurious homemade beauty cream. Your skin will thank you for it!
